This guide shows how to upload images to a WildObs Image Platform project as a background process.
This guide is for WildObs platform testers only. You will not be able to sign in to the WildObs test platform if you have not been invited by the WildObs team. If you are interested in becoming a platform tester, please register your interest here.
TABLE OF CONTENTS
1. Create a user account on the WildObs Image Platform Nextcloud
2. Upload images to the WildObs Nextcloud server
2. a) Upload images to Nextcloud using a web browser
2. b) Upload images to Nextcloud using a desktop client
3. Enable Nextcloud uploads in Project Settings
4. Import images via Nextcloud
Nextcloud is an open-source, self-hosted file sharing platform. WildObs hosts a secure instance of Nextcloud on the ARDC Nectar Research Cloud to allow for secure and backed-up transfer of camera trap media to the WildObs Image Platform.
While Nextcloud has many features that make it similar to other file sharing services like Google Drive, Dropbox or OneDrive, a WildObs Image Platform Nextcloud account operates in limited ways.
1. Prepare your images for upload
To ensure that Nextcloud uploads to the WildObs Image Platform work correctly, you must ensure your files are organised appropriately:
- There must be a uniquely labelled folder for each deployment. It is ideal to name your folders with the location plus a descriptive tag or group to quickly match the folder to a deployment in the system.
- All image/media files for the deployment must be in one folder, not separated into sub-folders. See Nextcloud troubleshooting for an example of how images should be organised.
- Only add folders of images to Nextcloud that you are actively planning to add to a deployment. When uploading a directory, the platform must scan all files in your linked Nextcloud account. Steps in the process will be slower the more files are in your account.
- Nextcloud folders are deleted immediately after uploading to a deployment. The WildObs Image Platform Nextcloud cannot be used for long-term storage of files.
- If you have a large number of deployments to upload, work in batches of 10 or less. This means there should be no more than 10 folders in your WildObs Image Platform Nextcloud account at any given time.
1. Create a user account on the WildObs Image Platform Nextcloud
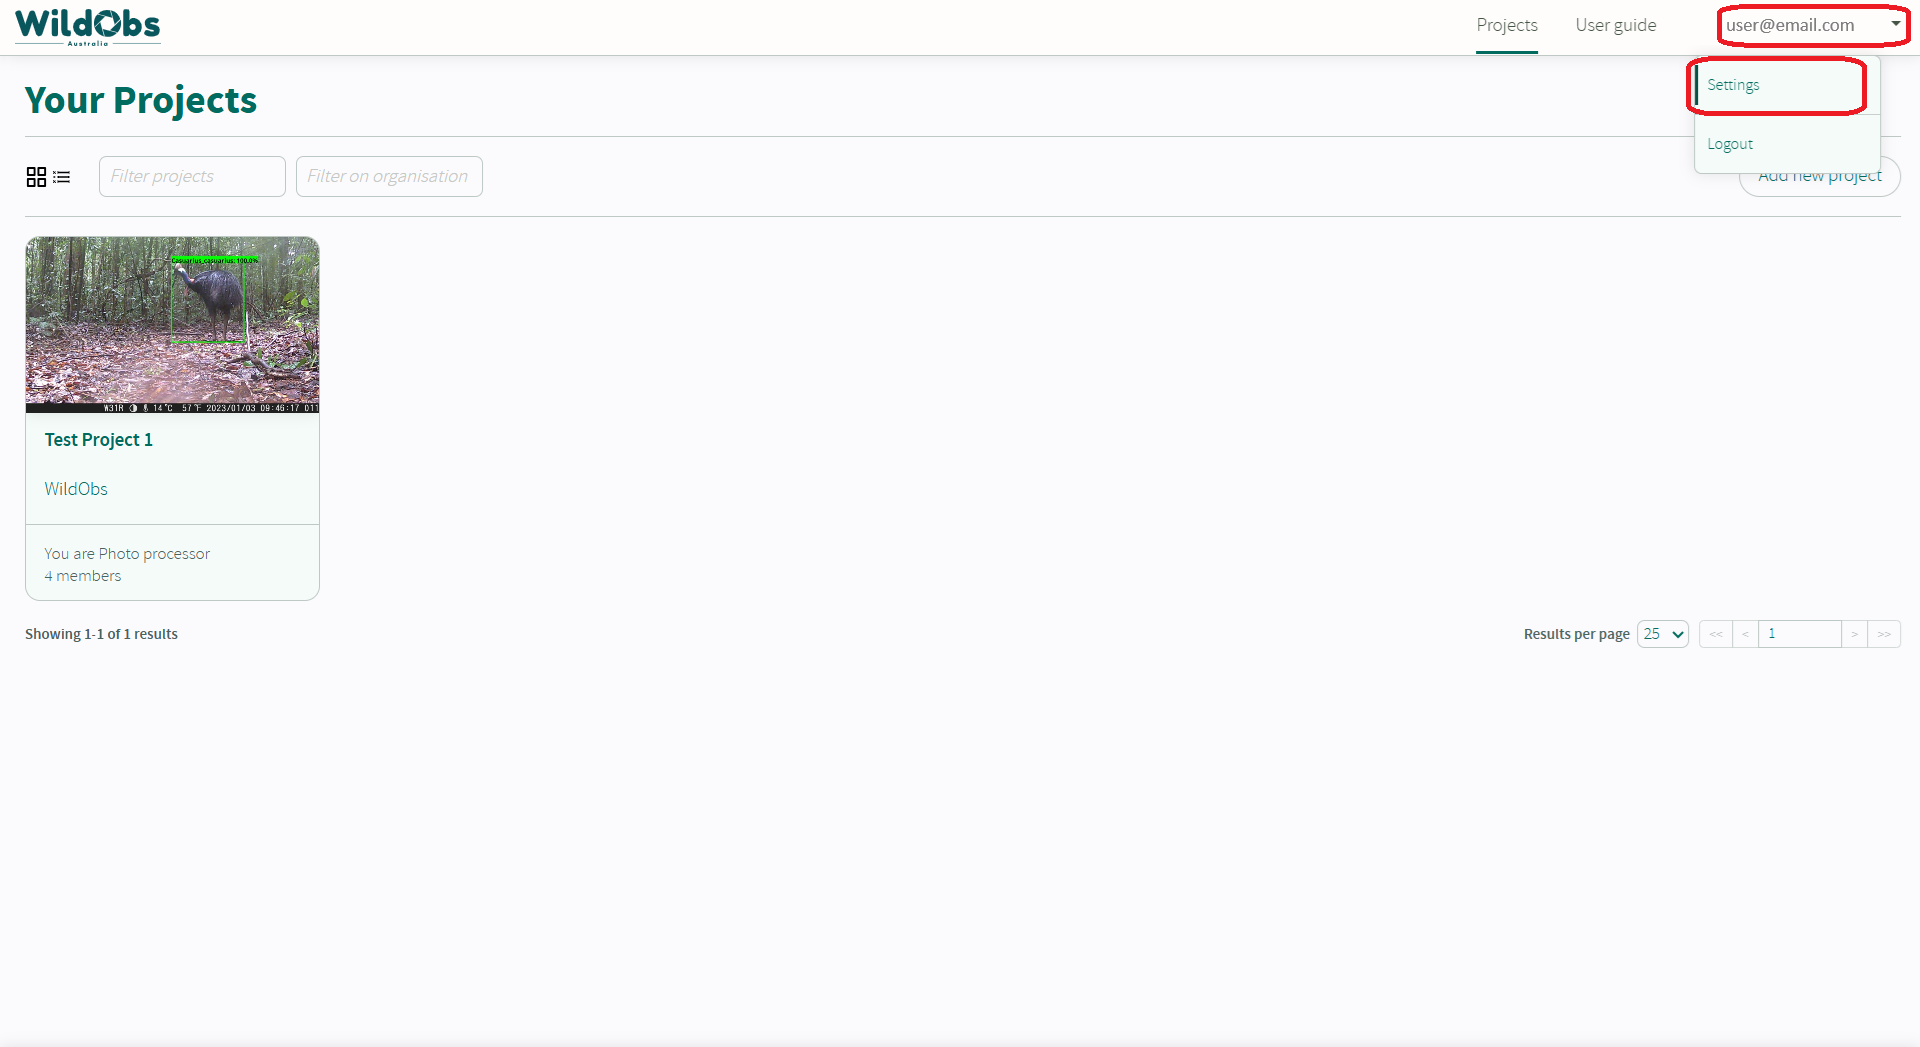
Follow the WildObs Image Platform Quick Start Guide to navigate to the WildObs Image Platfom, then open user settings by hovering over the user email at the top-right of the window and selecting "Settings" from the drop-down menu.
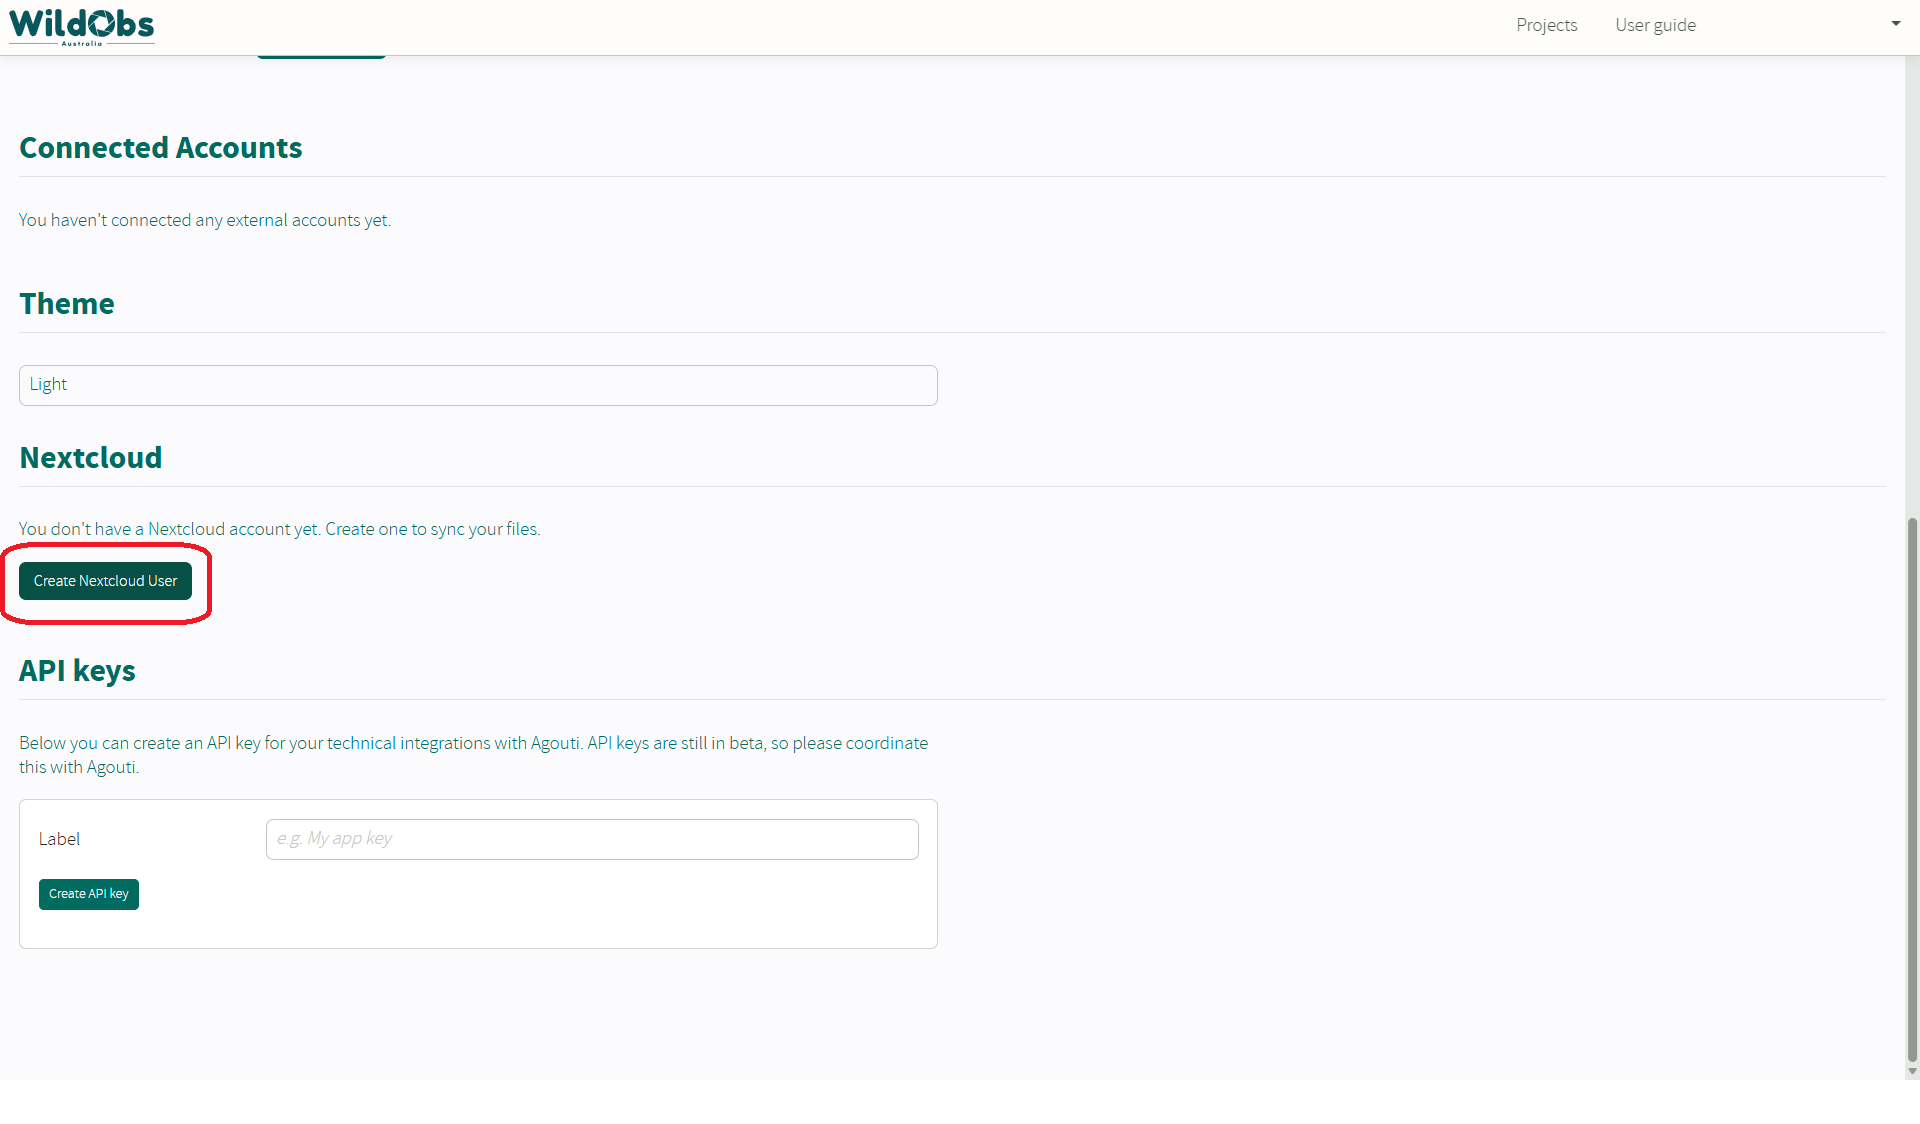
Scroll down to the "Nextcloud" section and click "Create Nextcloud User". Note: Do not click the button more than once.
The page may not respond immediately. Please wait until the page reloads with a "✓ Nextcloud User Created" grey confirmation box appears in the top-right of the window.
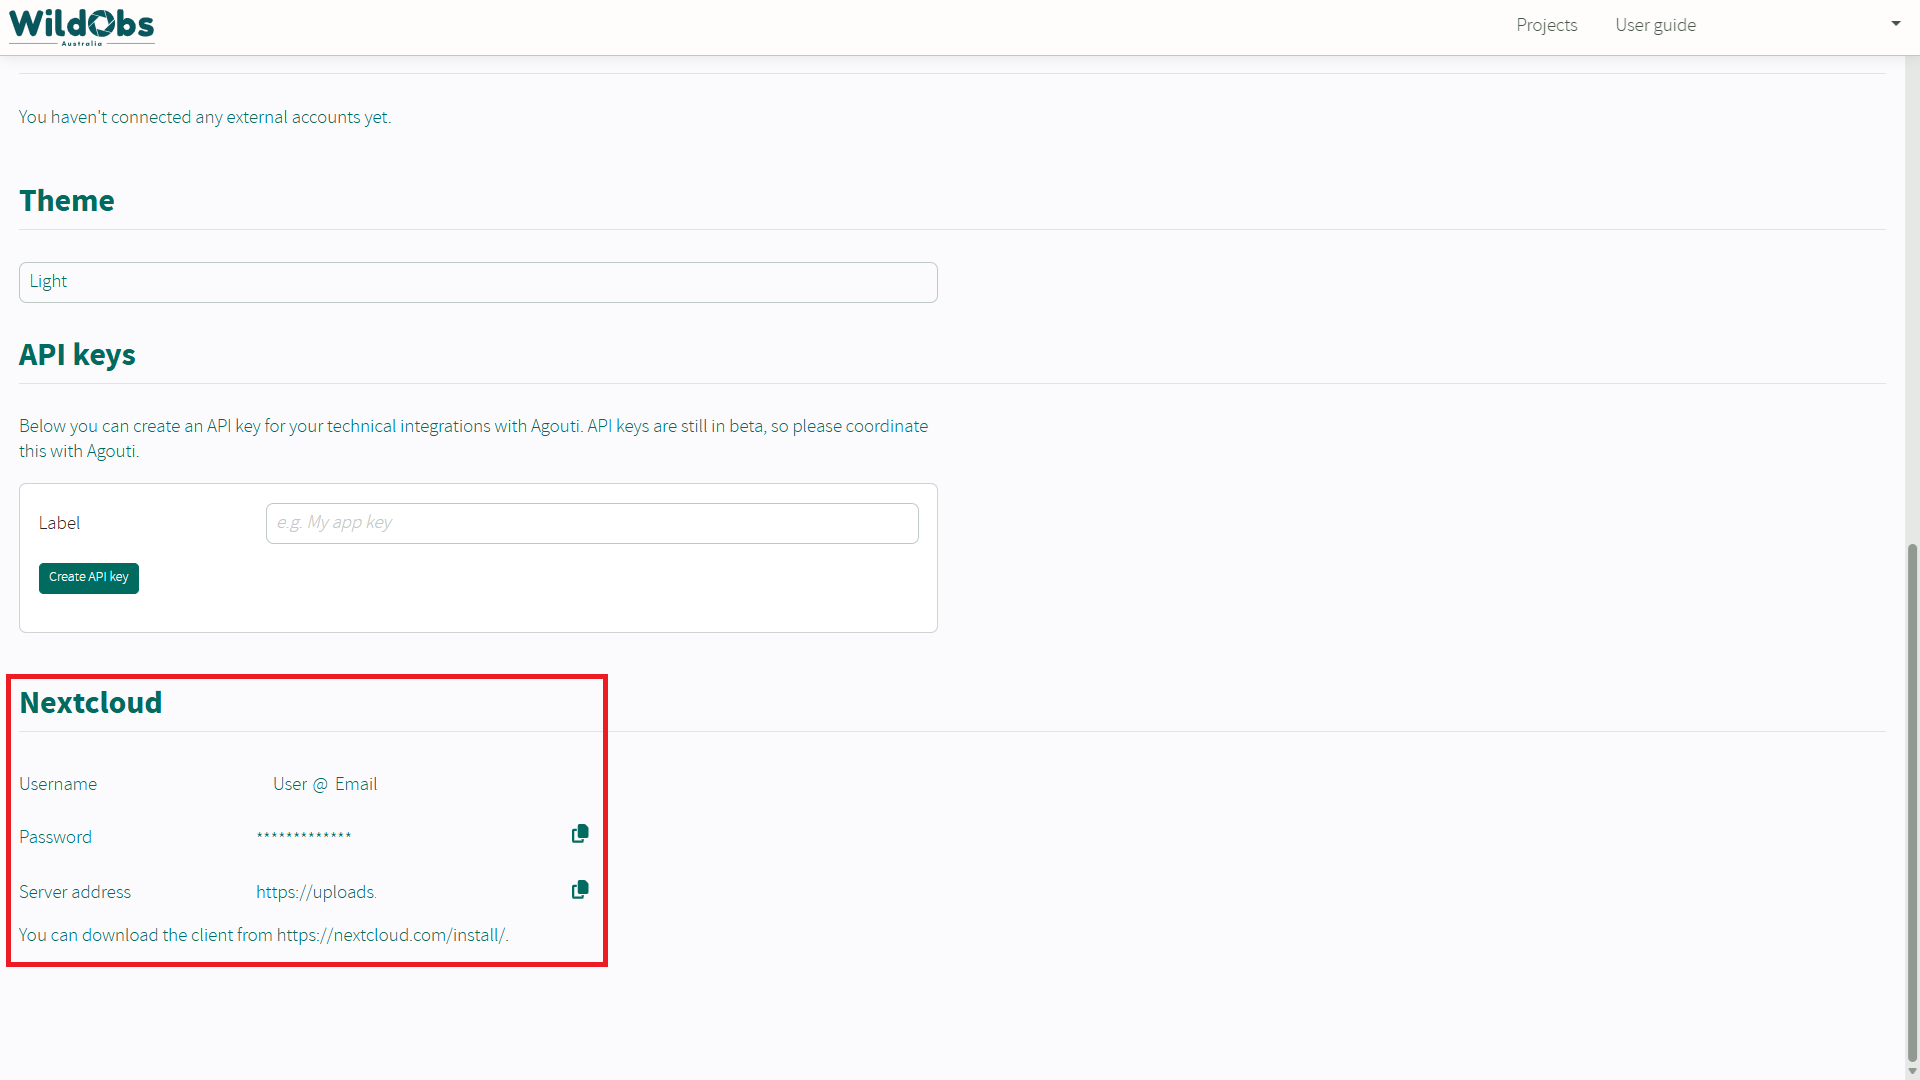
Once created, Nextcloud user credentials will appear at the bottom of the User Settings page.
2. Upload images to the WildObs Nextcloud server
Images can be uploaded to the WildObs Nextcloud server via a web browser or using the desktop client:
2. a) Upload images to Nextcloud using a web browser
2. b) Upload images to Nextcloud using a desktop client
Using the browser requires manually uploading files or folders but the desktop client will allow for large folders of media to be uploaded as a background process.
2. a) Upload images to Nextcloud using a web browser
Copy the server address using the copy icon and paste it into a new browser window.
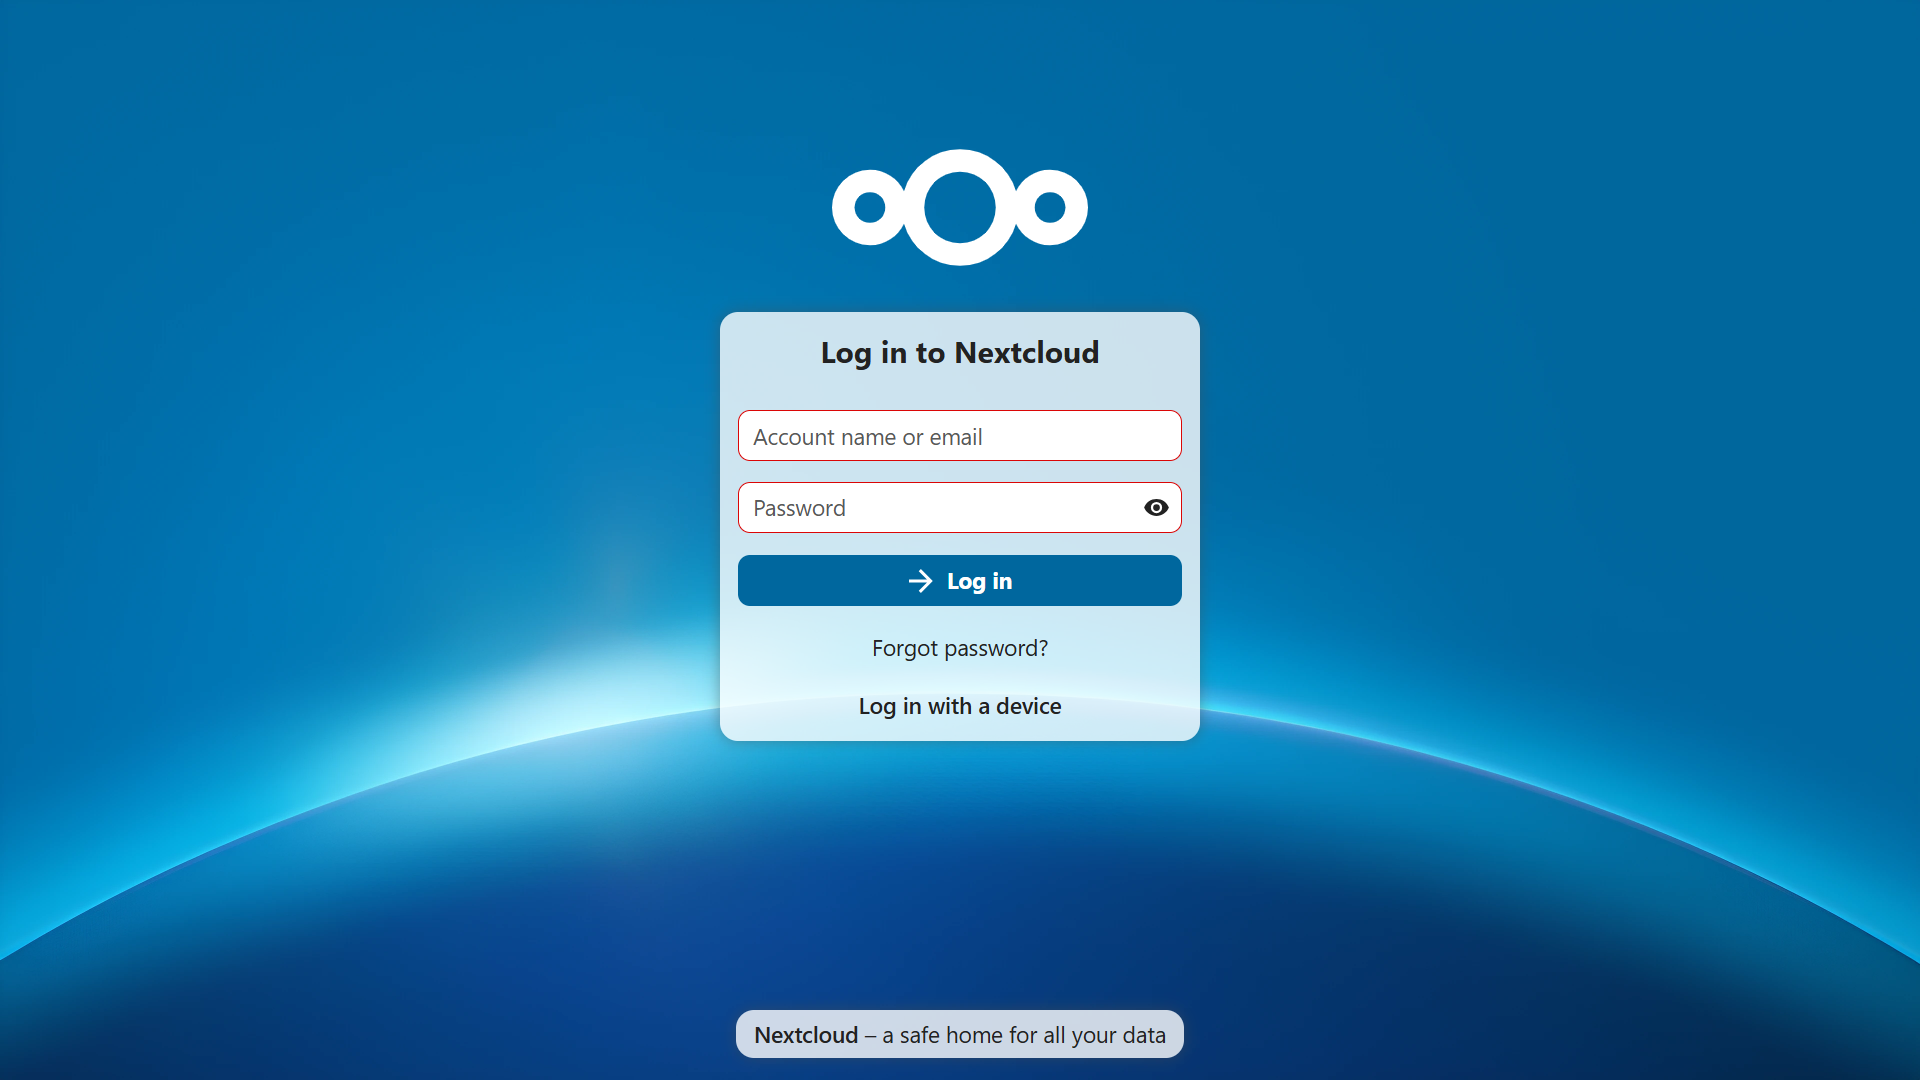
Copy and paste your Nextcloud account username and password from the User Settings and click "Log in".
The dashboard page will appear after logging in. Click on the upper left "Files" icon to open the file view.
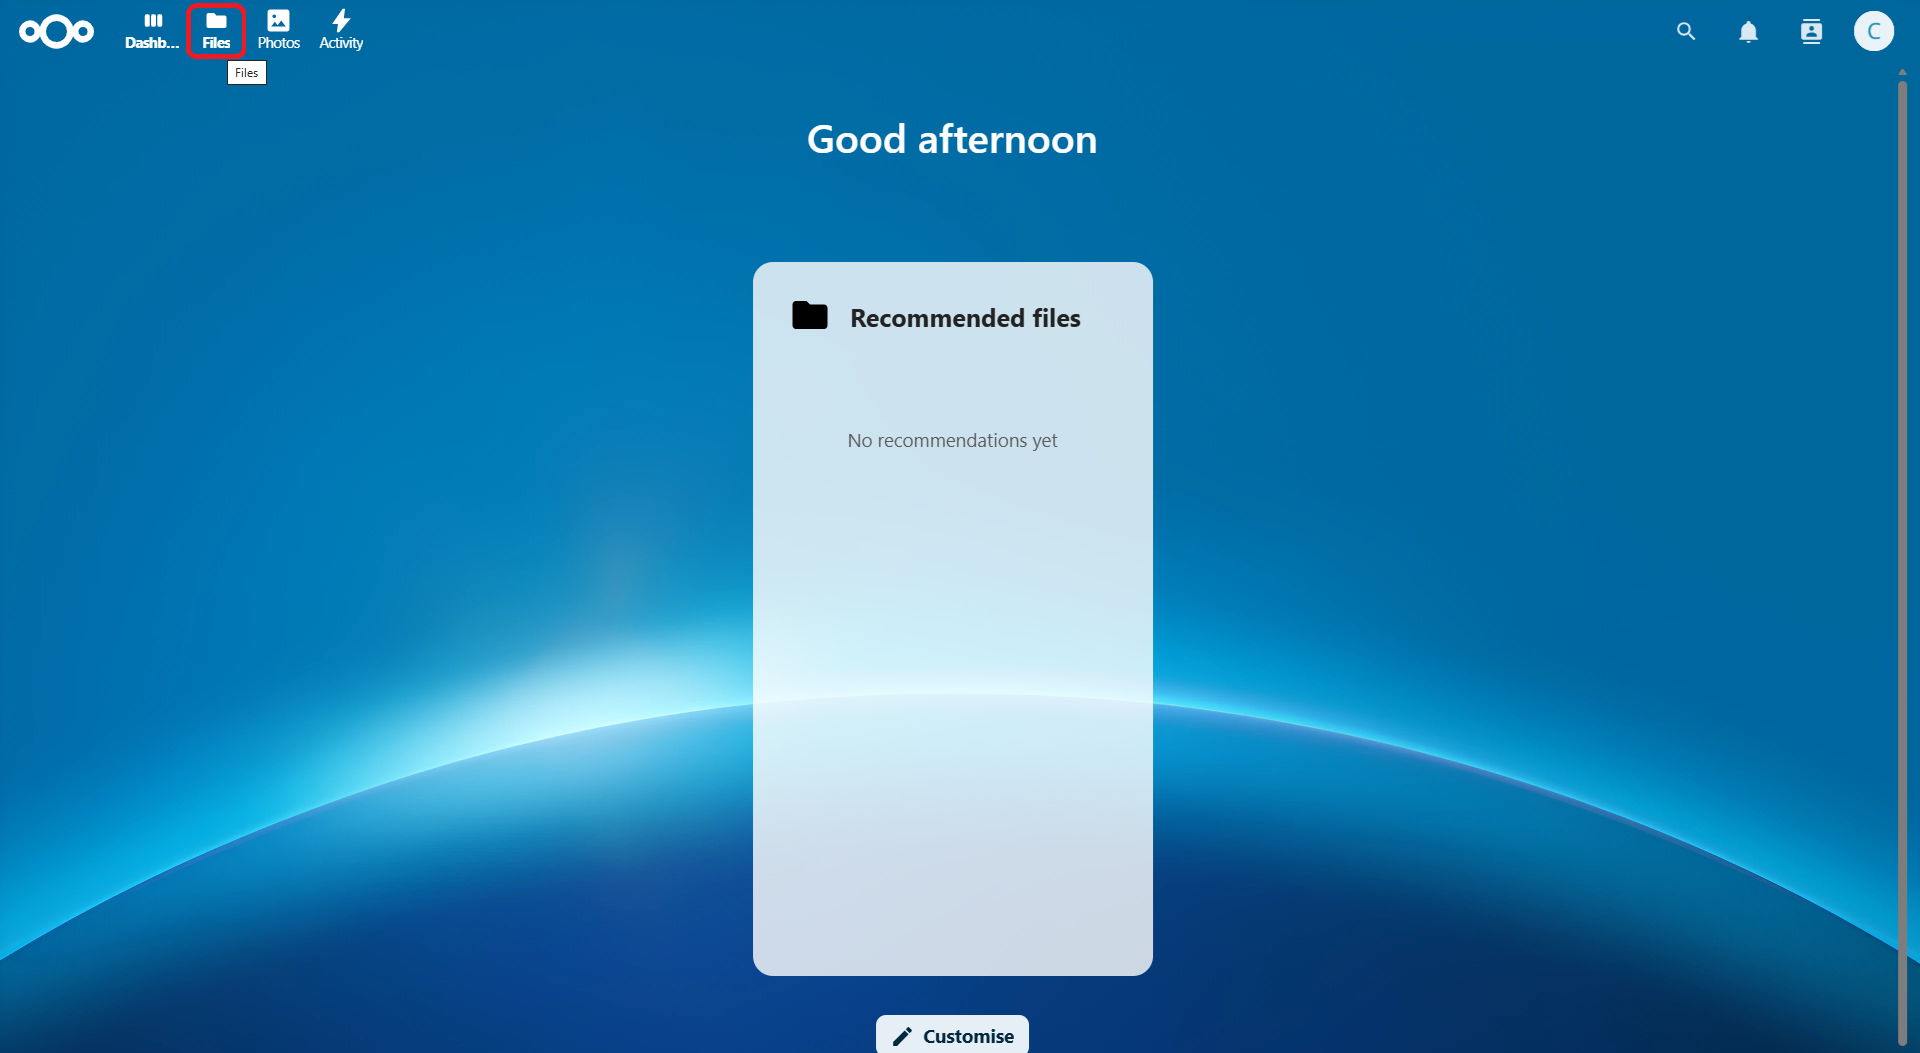
In the Files view, click "+ New" to upload single files or folders of camera trap media files.
For more information on using Nextcloud on the web, see The Nextcloud Web interface — Nextcloud documentation.
2. b) Upload images to Nextcloud using a desktop client
Visit https://nextcloud.com/install/ to download and install the Nextcloud Files desktop client for your computer.
Follow the Nextcloud Desktop Client Installation Wizard to log in to the WildObs Nextcloud Server.
By default, a Nextcloud folder in your home directory will be selected to sync from your device.
Add folders of camera trap media to your synchronised Nextcloud folder or choose to synchronise other folders with camera trap media to upload.
3. Enable Nextcloud uploads in Project Settings
Follow the WildObs Image Platform Quick Start Guide to navigate to Project Settings.
Toggle on "Nextcloud uploads enabled".
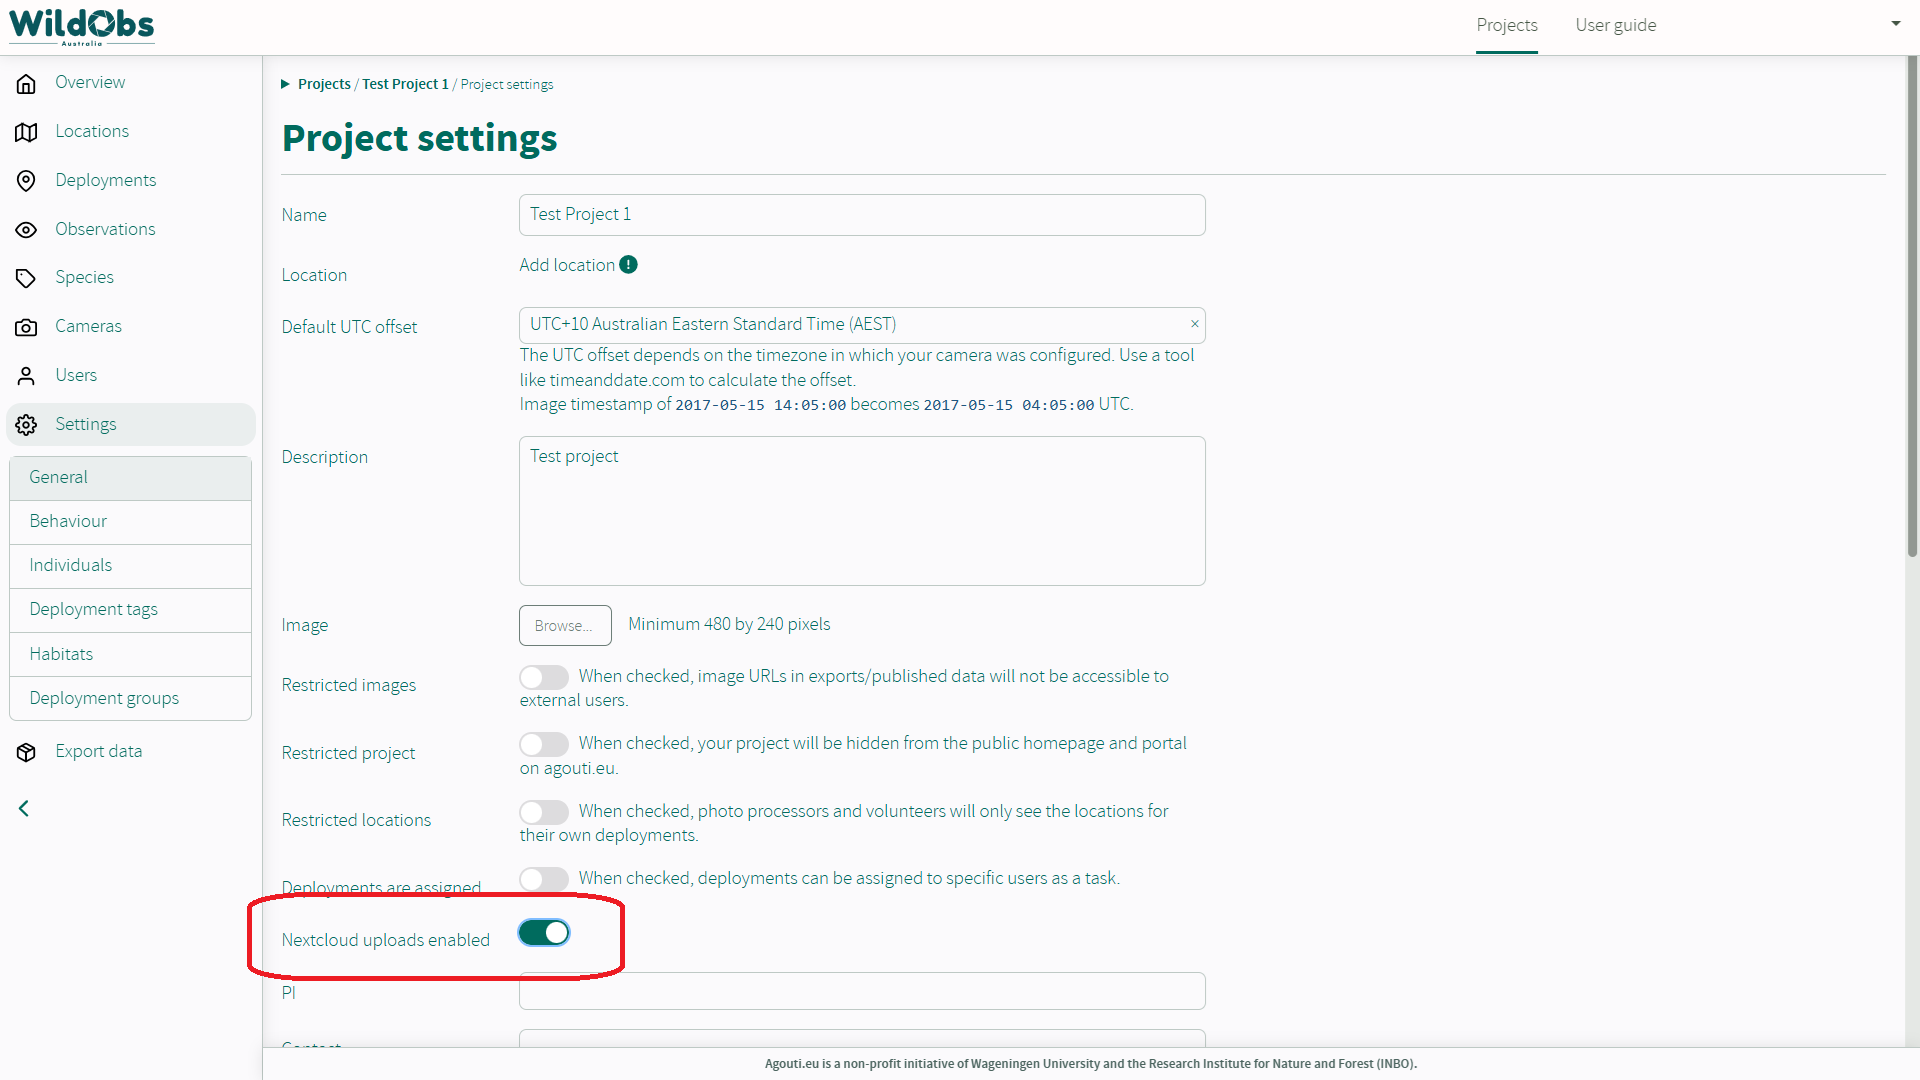
4. Import images via Nextcloud
Add a new deployment (see Add a deployment to your project), enter required fields and metadata.
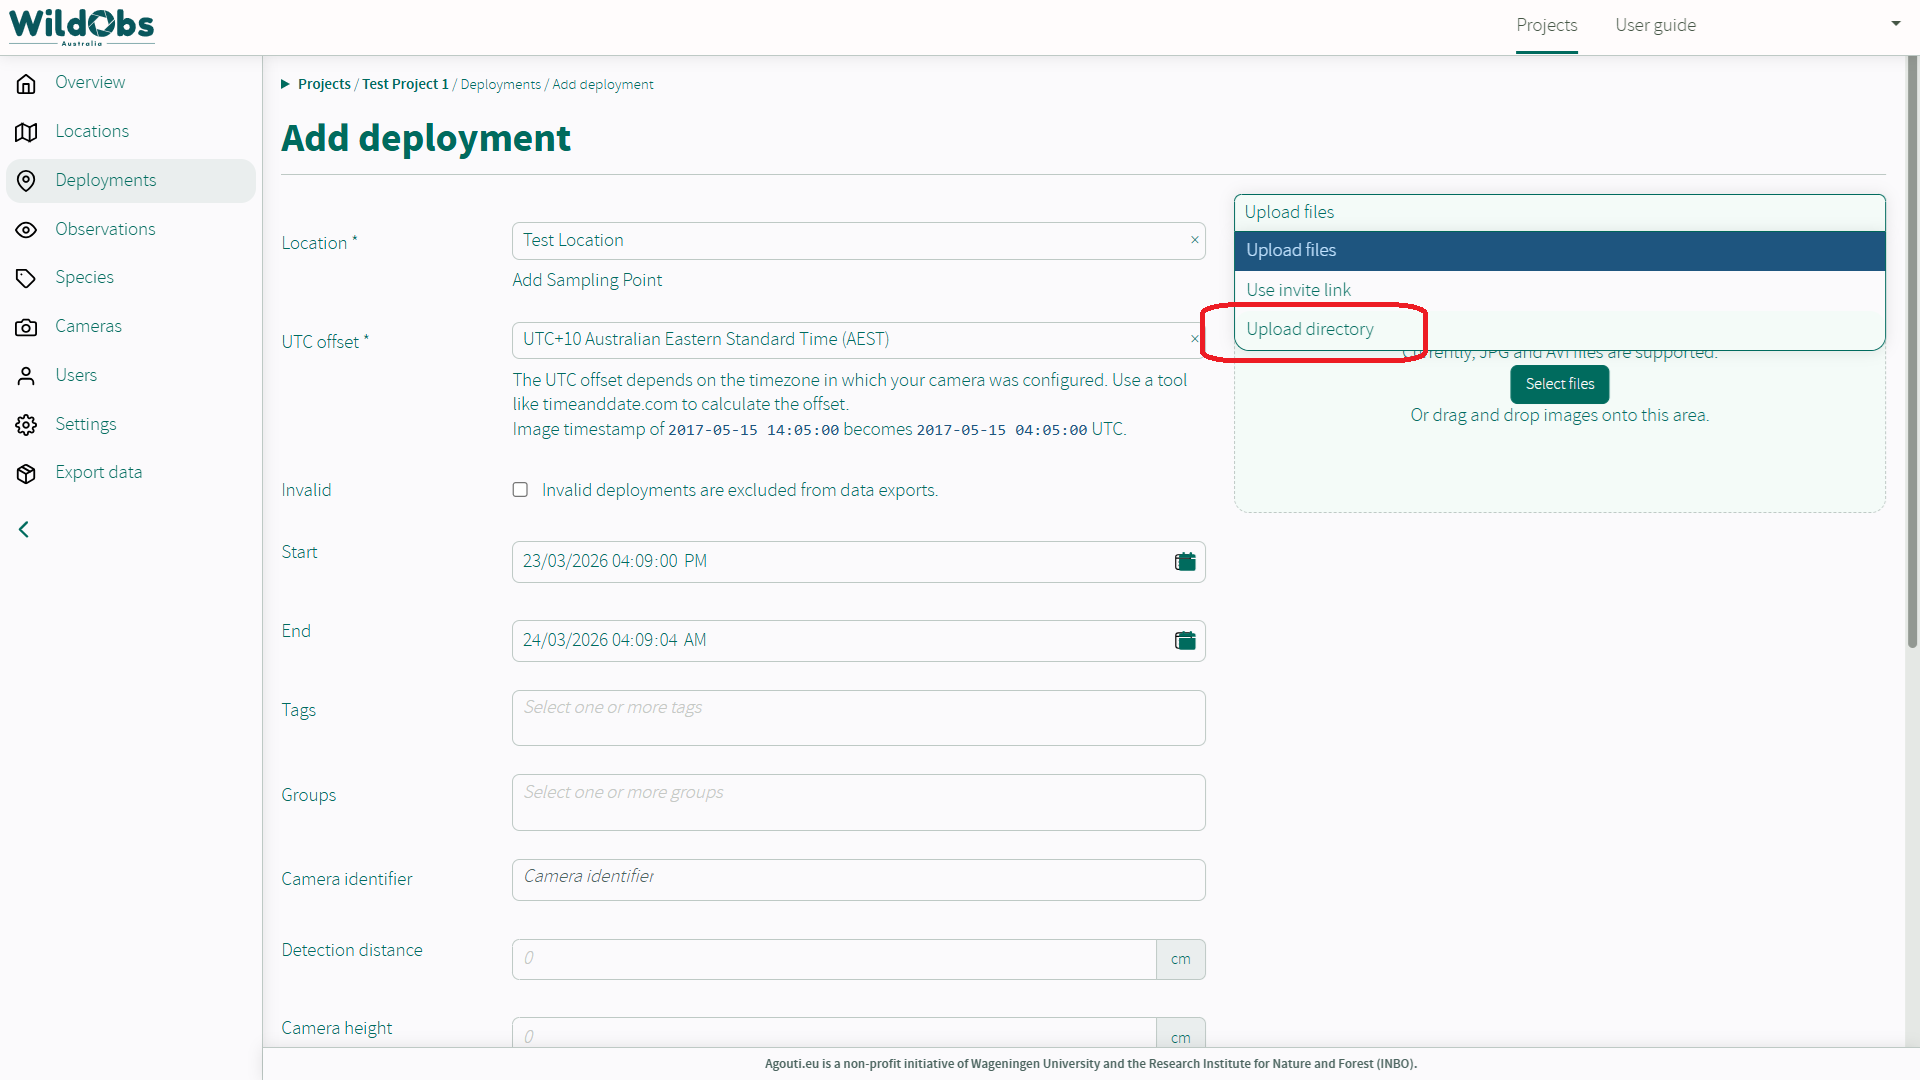
In the image upload area, select "Upload directory".
Note: The "Upload directory" field will not appear unless Nextcloud uploads have been enabled and a folder has been uploaded.
Click "Select Owncloud Folder" to select correct folder.
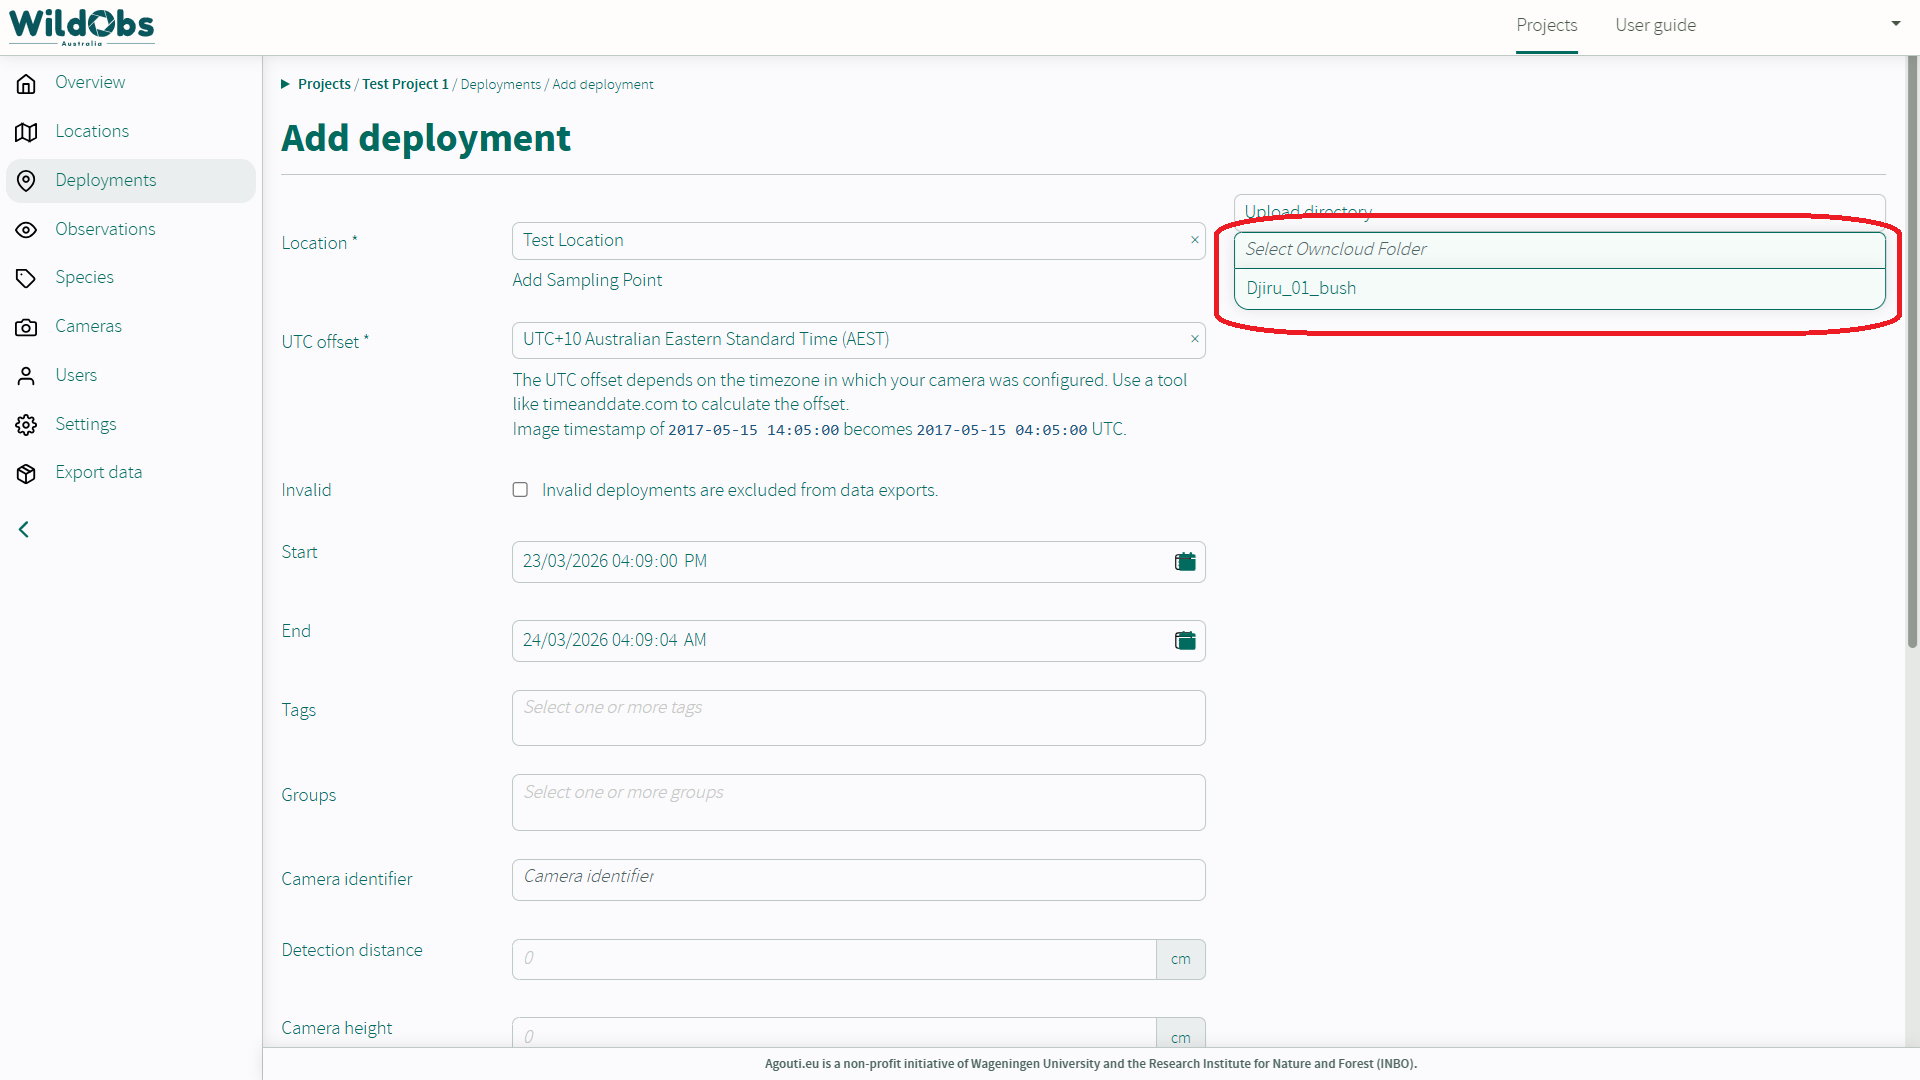
Once selected, a preview of images will load to check the correct file has been selected. More images can be loaded by clicking "Load more images".
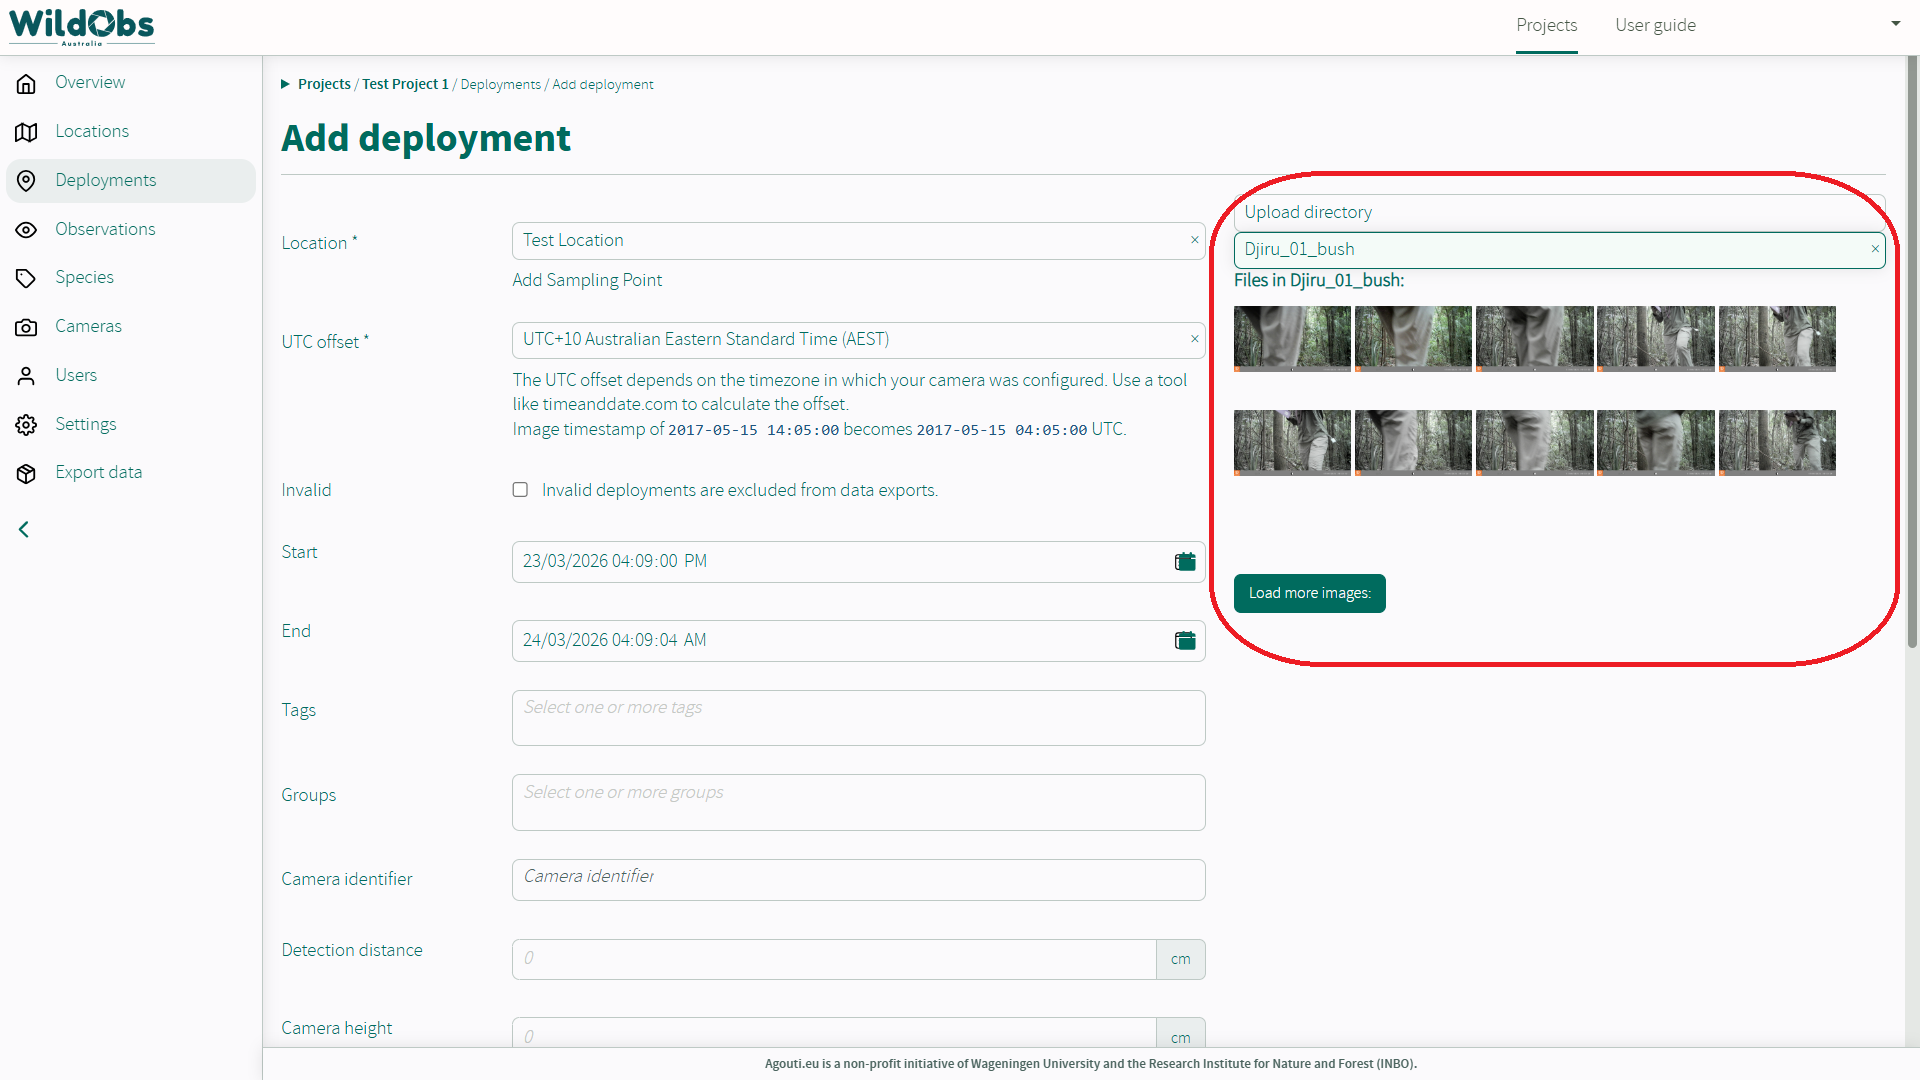
Enter all remaining details and click "Add deployment" to start image uploads from Nextcloud.
Images will be imported from Nextcloud, clustered into sequences and annotated by AI based upon selected settings.
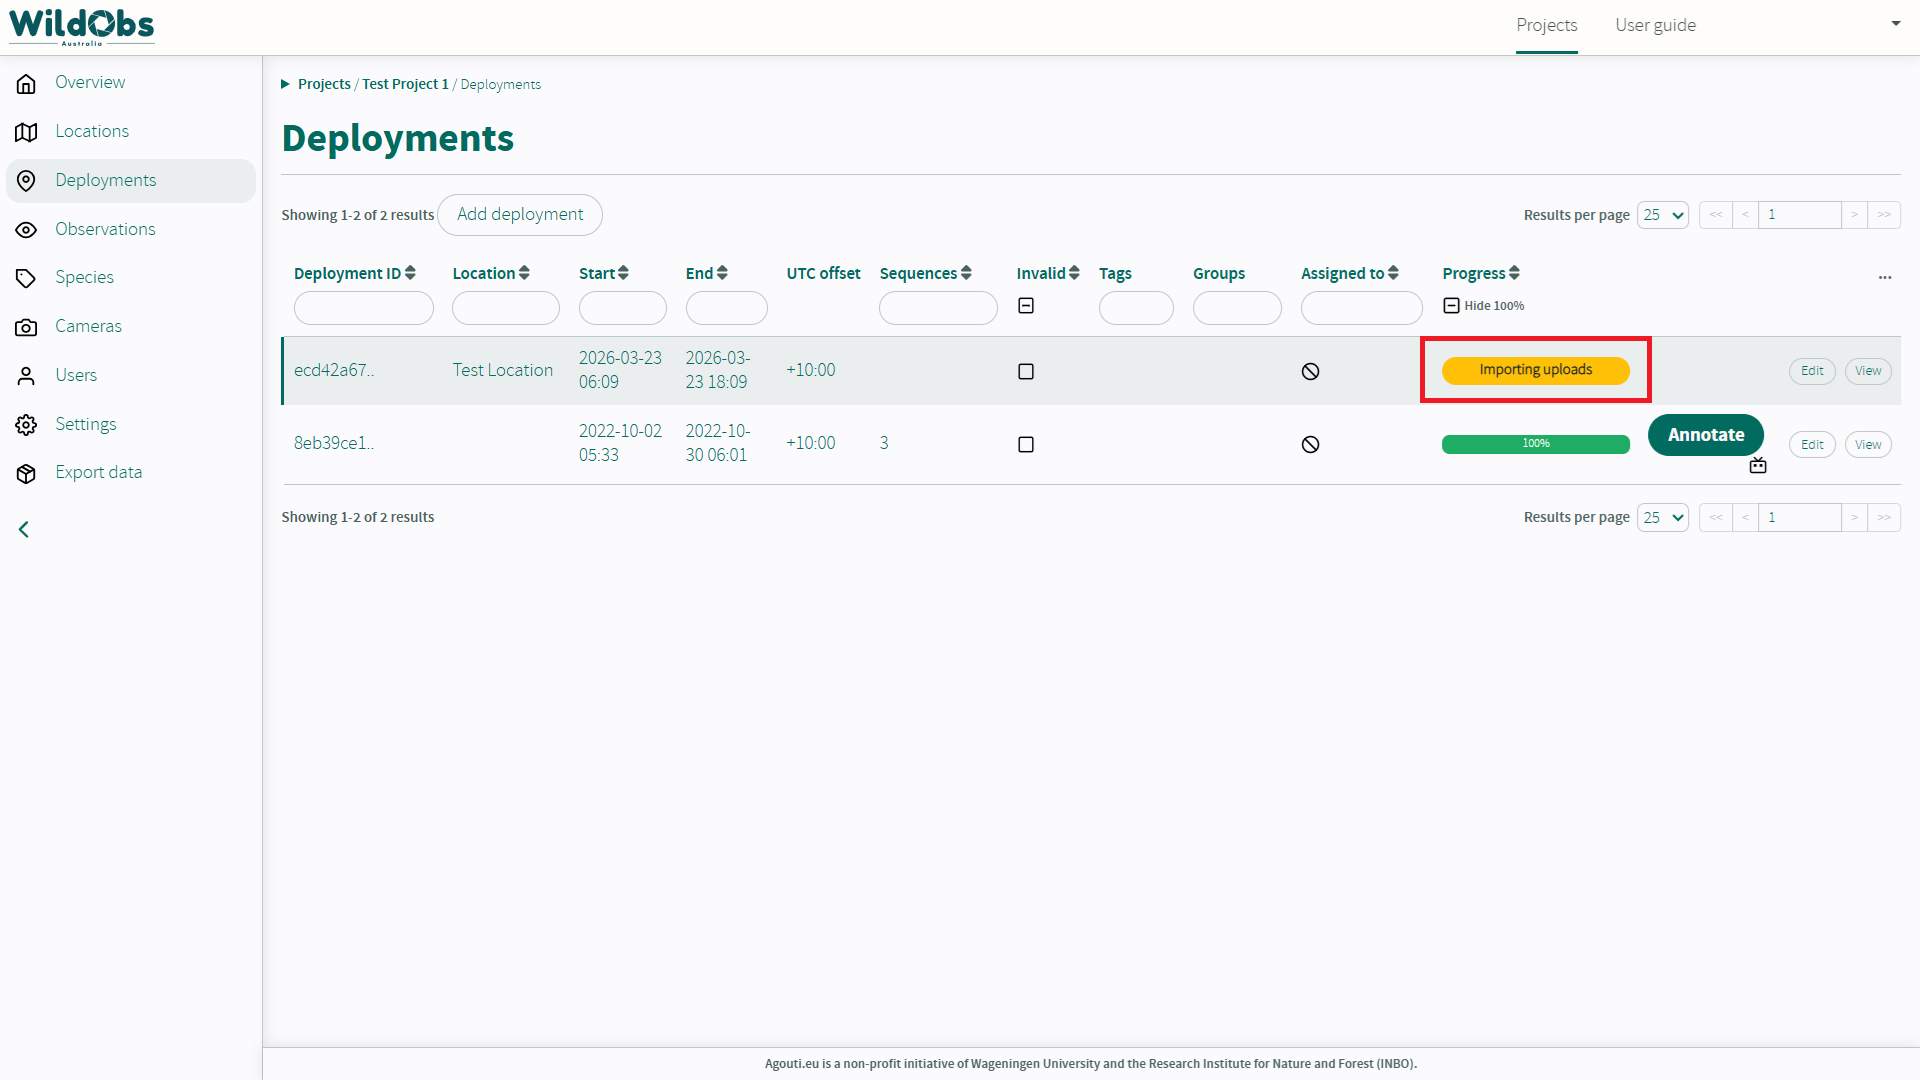
Once images are successfully imported through Nextcloud, the images/folders will be removed from Nextcloud. The WildObs Nextcloud server is backed up, however it is only a temporary location for storage until images are imported to the platform.
See Add a deployment to your project and Enable AI annotations for your project for more details on adding deployments and setting automatics AI annotations.
Next steps
Invite others to collaborate on your project
Platform Tester Guide - Import multiple deployments to a project
Was this article helpful?
That’s Great!
Thank you for your feedback
Sorry! We couldn't be helpful
Thank you for your feedback
Feedback sent
We appreciate your effort and will try to fix the article